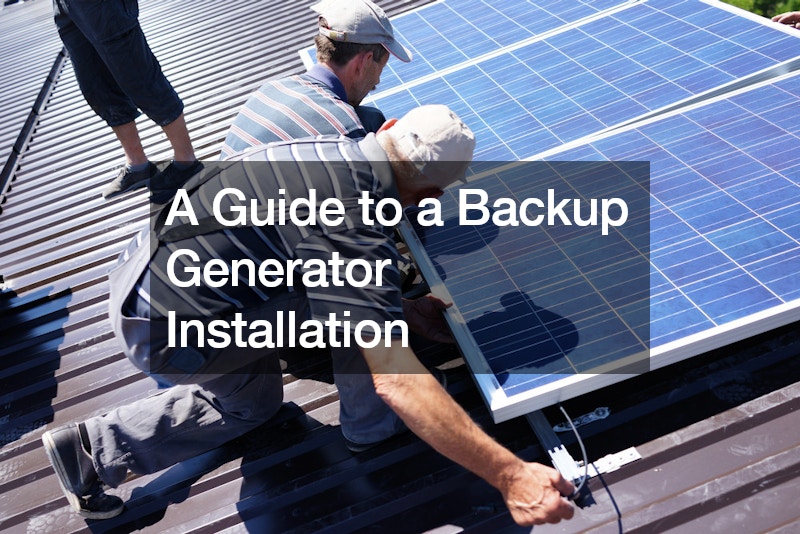
A Guide to a Backup Generator Installation

Installing a backup generator can provide peace of mind and ensure uninterrupted power supply during emergencies or power outages. The process of installing a backup generator involves several key steps to ensure its proper functioning and reliability. Initially, a site assessment is conducted to determine the best location for the generator, taking into account factors such as proximity to the main electrical panel, ventilation requirements, and accessibility for maintenance.
Following the site assessment, the next phase of the backup generator installation involves selecting the appropriate generator size and type based on your specific needs and power requirements. This step is crucial for ensuring that the generator can adequately power your essential appliances and systems during a blackout.
Once the generator is selected, the installation process begins, which includes preparing the site, setting up the generator, and connecting it to your home’s electrical system.
Proper wiring and electrical connections are essential to ensure the safe and efficient operation of the generator. This includes installing a transfer switch to automatically switch the power source from the main electrical grid to the backup generator during a power outage. In addition to the electrical setup, it’s important to test the generator and perform regular maintenance to keep it in optimal condition and ready for use when needed. A backup generator installation involves several critical steps, including site assessment, selecting the right generator, proper wiring and electrical connections, and regular maintenance. Each step is essential to ensure the reliability and functionality of the backup generator during emergencies or power outages.

